How to Upgrade NVMe on Unsupported Synology NAS
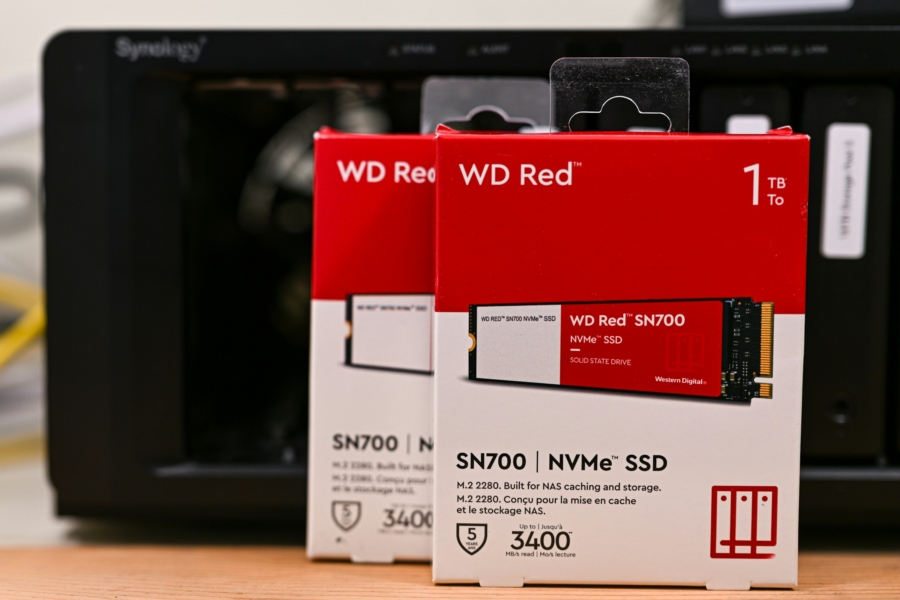
Synology is known for making reliable HDD network storage, not NVMe. The few articles I found often recommended building your own NAS for NVMe, given the general reliability of SSD and price to performance ratio. While I agree on the principle, for those of us who already own a Synology branded NAS, there is no reason to avoid using M.2 slots on Synology NAS. There are scripts to enable a pool creation for this very purpose. And this is the part where I could not find documentation on. How do I go about upgrading a storage from 512 GB to 1 TB NVMe drive?
The specifics will be very different per setup, so think of this as a rough template to work with. It is, however, documenting exactly what I have done.
- If there are any active programs (e.g. Docker containers) running, stop them.
- From Hyper Backup, create a backup to the volume on the main unit. You can use an external device, but I opted to use internal space for speed.
- Run the backup manually.
- Power down the NAS and replace the drive.
- At this point, the Storage Pool created with the old NVMe drive will be missing. It’s fine to simply remove the Pool.
- Recreate the Pool from the new NVMe drive, and create the volume from it as well. Volume assignment on DSM is automatic. If there were no changes other than the removal of an old drive, the new volume will take the same numbering.
- Restore the backup from Hyper Backup. It will choose the same volume number.
- Container Manager, if installed on the NVMe drive, will need to be reinstalled from Package Center.
In many ways, I believe Synology is showing age. It’s good at being an HDD storage device, but for anything beyond that, it’s an uphill battle all the way. With only two slots on the machine, Synology doesn’t make a strong case for an M.2-based storage unit. Instead, I would recommend using the slots for either caching (supported natively on DSM) or for other home lab projects, such as docker containers. However, even as a docker machine, it is not the most elegant solution. One thing I wanted to make sure during the transition was the volume numbering. There is no explicit way to force a certain number or reserve a number, so if the new pool gives out a new number, I have to rewrite all the yaml and env for home labs.
But it is true NAS is hitting the sweet spot for many enthusiasts. I’m not particularly interested in beefier CPUs for my projects and 20 GB RAM is more than enough for the time being. We are at a point the projects have to make realistic compromises where the cost for a new mini PC or a new single board computer outweighs upgrading the NAS itself. Consolidating all my docker projects to an x86 NAS machine was one.