How to Migrate Docker Containers from Synology
Synology DSM has been shipped with a Docker Engine for a while, but it failed to keep up with the latest version of Docker Engine, let alone stay within the EOL life cycle. DSM was given an updated 24.0.2 of Docker Engine in February 2025, the version already declared EOL in June 2024. At the time, the latest version of Docker Engine available was 27.5, at least 3 major versions past what Synology offered. In short, running multiple Docker containers as part of a home lab on the DSM platform is unreliable.
The purpose of this post is twofold: what kind of hardware is necessary, and a brief sense of what will need updating for migration. This isn’t going to be one dry cut-and-paste job. There are simply too many variables to write one thorough guide to encompass all migrations. However, seeing as a lot of the information I gathered was not available (or not encouraged, for unknown reasons) at the time of my migration, I thought to share it as a template.
The criteria for new hardware, in my opinion, rely heavily on what experience you had hosting on a Synology device. In my particular case, I was never in need of greater performance. Waiting for a job to be finished was fine, so long as the entire server did not hang. So my focus was primarily on the expandability of NVMe slots, as that’s where my existing setup on Synology had kept working data. Many reviews and recommendations I found endorsed far too powerful mini PCs* for my liking. For a home lab server that will run 24/7, power efficiency, both in terms of power draw and waste heat, was a key consideration. In short, even in an AI-dominated market, you can find a reasonably priced mini PC.
* I left out Raspberry Pi, since it’s an ARM device.
- Most CPUs on the market are already more powerful than what Synology ships its NAS with.
- It is best to focus the hardware capability on its expandability. The number of M.2 slots, for example. Entry-level CPUs tend to be used in less expandable products in general, fewer RAM slots, fewer M.2 slots.
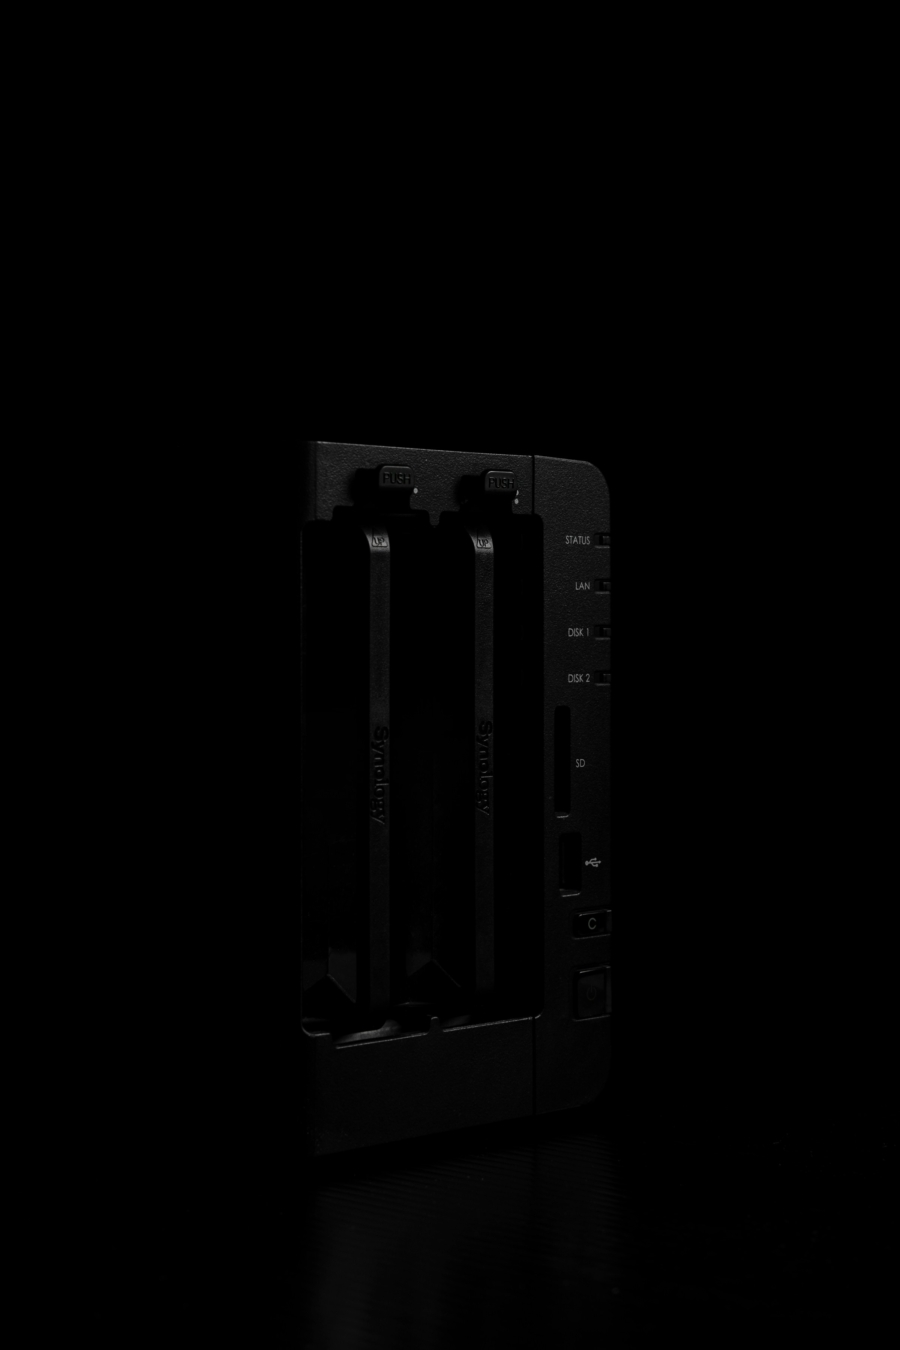
- There is no need to focus too much on storage either. Use the flash storage for operational work (i.e. active data). NFS setup to NAS comfortably feeds 1Gbps or higher to the server. Keep the NAS for storage and the new server as a computing node.
- In short, the most troubling aspect of finding the right machine for the job comes not from the budget or the price point, but from lacking spec sheets most of the time. The mini PC I ended up grabbing did not specify the number of RAM slots available. I ended up purchasing it through a platform that has a more forgiving return policy.
Once you have the machine in hand, the work of actual migration will be less an issue. I used Ubuntu Server on mine, so I needed to plug in a monitor and a keyboard temporarily. These were the moments I could not do it remotely from my workstation. But all in all, my focus was primarily getting the containers off of Synology and replacing existing Synology-exclusive packages and services with their Linux equivalents.
- Once the drives are mounted via NFS, the only changes to
yamlitself are simply updating the path. For example, it may have been/volumeN/someFolder/on Container Manager; now it needs to be mapped to/mnt/someFolder/. - The data on the NAS can be copied over with
rsync, it will be less painful dealing with permissions afterward. But DB files and folders usually error out. These need to be copied manually and have their permissions fixed once again. - The backup scheme on Ubuntu (or OS of your choice) will be different than it was on DSM. I suggest
resticto back up Docker containers only. Should anything happen, pull a new image, restore the containers, and you should be good to go in hours. It is not hands-off backup/restore like Time Machine, however.
The mental image I would propose for this kind of setup is to strip Synology NAS of its bells and whistles. Synology still offers a reliable NAS for home and small offices. It offers additional services (like backup and remote access) where needed, however, it slowly began to tone down the “smart” features it prided itself on when it first launched. And many of these features are better served by external tools too.
All in all, my migration took about 12 hours, more or less. Majority of which, I was patiently waiting for file transfer. The 1Gbps or 2.5Gbps LAN on the NAS is a bottleneck in this setup, but seeing as it is still a HDD RAID, I don’t think there’s much to lose from sequential read/write. For random access, active data is saved on NVMe drives on the Docker machine. NVMe drive pools are also natively supported, one less customization I need to worry about.